-
Domains
- Transfer
- Domain Transfer
- Bulk Domain Transfer
- Renewal
- Domain Renewal
- Bulk Renewal
- Popular Activities
-

-
Marketplace
- Backorder + Dropcatch
- Expired Domain Search
- Bulk Backorders
- My Backorders
- Download Deletion List
- Auction
- In Auction
- My Auctions
- Buy It Now (BIN)
- Marketplace
- My Domains for Sale
- Brokerage
- Apply Domain Broker
- My Applications
-
Cloudware
- Web Hosting
- Web Hosting
- WordPress Website Creation
- Web Security
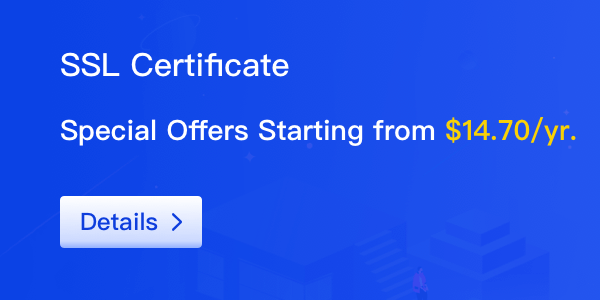
- SSL Certificates
- Website Protection
- CDN Acceleration
- IP Protection
- Professional Email
- Hosting
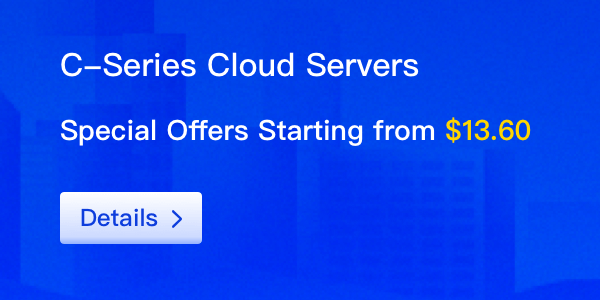
- VPS Hosting
- Server Tools
- aaPanel
- GMSSH Panel
-
Support
- How To Pay
- Payment Options
- Go To Recharge
- Work With Us
- Reseller Application
- Business Cooperation
- Resource Hub
- Help Center
- Latest Notices
- News Center
- Submit Ticket
- Other related
- Apply API
- Report Abuse
- Security Center
- Contact Us
- APP
- Download App
-
Control Panel
- Dropcatch
- Add Domain Backorder
- My Backorders
- My Auctions
- Closed Auctions
- My Won Bid
- Domain Expiration Reminder
SellerCloud Products- Ticket System
- Submit Ticket
- My Ticket
- Help Center


 supports the following regional currency settlement:
AlipayHK (Hong Kong, China): Supports HKD Settlement
TNG eWallet (Malaysia): Supports MYR Settlement
Boost (Malaysia) : Supports MYR Settlement
GCash Pay (Philippines): Supports PHP Settlement
Billease (Philippines) : Supports PHP Settlement
BPI (Philippines) : Supports PHP Settlement
DANA Pay (Indonesia): Supports IDR Settlement
Kredivo (Indonesia) : Supports IDR Settlement
TrueMoney (Thailand): Supports THB Settlement
Rabbit LINE Pay (Thailand): Supports THB Settlement
K PLUS (Thailand) : Supports THB Settlement")